Table of Content
Push it firmly onto your paper, wall, or fabric, applying pressure across the entire stamp so it creates an even design. Lift the stamp straight up when you’re finished. 3) In order to print your image, place your stamp onto the ink pad or cover it with paint using a paintbrush. When it is covered in ink or paint, place the stamp onto your paper and press it down hard for a few seconds. Remove it from the paper and admire the results. More importantly, it is less wasteful and you never have to worry about the shortage of stamps.
If you’re just starting out, you can use some affordable pink erasers instead. You can even find these at the dollar store in the stationery aisle. The paint stamping got a little messy, but the stamps themselves functioned beautifully with traditional stamp pads. Customized stamp for business with My Stamp Ready’s free custom stamp maker generator, here’s all you need to know about them. Making your own stamps can be as simple as carving a shape into a potato. However, there are many more sophisticated ways of making your stamps.
Step 5: Exposing the Image
That means making the black parts white and the white parts black. This is easily done in most graphics programs, and it is usually listed as an “invert colors” command. You can also design you image in negative format by hand if that appeals to you more, although it is a much more time consuming process. Whether you’re designing homemade cards or decorating a boring wall, stamps are a fun way to create pretty designs that require very little artistic skill.
I wanted to use the same handle with multiple stamps. Even though these handles are pretty simple to make, I wanted to make something a little more versatile. I also believe, that you might be better off using an eeprom eraser than a black light for the photo exposure.
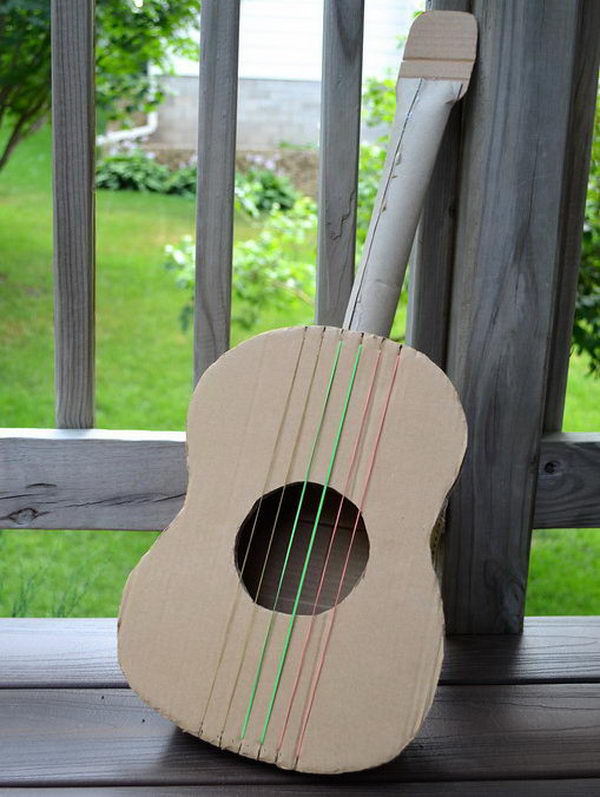
Projects To Use Your Hand Made Rubber Stamps
I would have gone a little bit deeper so the edges of the stamp wouldn't get ink on them. I also could have cut this out as a circle rather than leaving it square. Walmart sells and single 17 watt blacklight flourescent bulb in fixture for about $10 which can be supported about 2" off your desktop. The polymer comes in self-contained sachets now so there's no need to create a dam, etc. Etch-o-Matic and others like Teresa Collins sell complete kits including the UV exposure unit, timer, polymer sachets, transfer film, etc. When you are making stamps from vegetables or fruit, they need to be used immediately as the stamp will dry out, making it difficult to get a crisp image.
Along two parallel edges of the taped plates lay magnetic tape on both sides. This will hold the plates together and keep them from shifting during the exposure process. This answer was written by one of our trained team of researchers who validated it for accuracy and comprehensiveness.
Step 4: Setting Up for Exposure
2) Cut out your design from the foam and cut a chunk of thick cardboard which fits your stamp, with a little extra space on the sides. Glue your foam onto the cardboard holder with strong glue, and wait for it to dry. 1) Draw the outline of your design onto the foam. As there is no limitation in size , you can create a large stamp or more elaborate things like a name stamp.
Use our downloadable desktop software to document and pay for postage via electronic manifest files. Manage your volume shipping with built-in tracking and reporting tools. This is the material that you’ll carve your stamp from.
Home Office Organization
They offer a good introduction to stamp carving. Plastic erasers are suitable, as are art gum erasers. Erasers are typically relatively small and as such are best suited to smaller designs. However, stamps typically leave an ink mark, while seals often create a raised or indented design on paper or other surfaces . Wash your stamp off with water before the paint dries. Whenever you're finished with your stamp, immediately run it under water in the sink to remove the paint.
Easily print domestic Priority Mail Express®, Priority Mail®, and First-Class Package Service® shipping labels at your convenience. All you need to get started is a free USPS.com business account, computer, and standard printer. With the USPS Loyalty Program, earn credits for your Priority Mail and Priority Mail Express labels printed online. You want to carve away deep enough around the shape to ensure that the areas outside the design don’t pick up any ink when you press it onto a stamp pad. Go slowly, removing thin shavings so that you don’t go so far you carve all the way through. If you choose a hand-drawn method, you’ll use a pencil or pen to sketch out your design onto your stamp block.
Flip it over, line it up on your paper or craft, and apply firm pressure. Rubber stamps for your business and along with that, the mounting on top of the stamp, that is the part that holds the stamp logo can also be customized. Once the negative is created, you can start to prepare the exposure unit. It is a good idea to have everything laid out and ready because the photopolymer is light reactive, and will set up quickly one exposed, even to ambient light. Place the light fixture on a level surface covered in butcher paper, or vinyl tablecloth to protect the surface.

Pour liquid photopolymer gently onto the negative, filling the space up to the level of the damming tape. If there are any bubbles, quickly but careful pop them with a needle tool. Place the substrate, frosted side down, on the photopolymer, making sure there are no bubbles trapped under it or the stamp will peel off later. Place the other side of the glass unit on, making sure the magnets take hold. You may notice some seepage from the edges of the negative as the glass compresses. Kate Pullen is an accomplished artist and rubber stamping expert with over 15 years of professional crafting experience.
Another, more precise method of getting a design onto a stamp block is via a printed design. And finally, what I think is the most successful of all of our stamp projects, is the oversized stag stamp I created to stamp on holiday gift wrap. I also dabbled in creating a set of stamps that could work together to create various patterns. Custom stamp for business, there are certain important design tips to follow, to ensure the best results.
Otherwise, the stamp won’t be able to press down evenly. For all of these crafts, you can test how well your ink stamps are working by giving them a try on scrap paper. This speedy stamps craft is the perfect way to keep your children occupied. They can make beautiful art with personalised stamps! You can design your own stamp to represent absolutely anything thanks to these easy guides to make your own stamp.
Did you know you can get answers researched by wikiHow Staff?
Stamps.com is a fast, easy, and convenient way to manage all your postage needs. You can save up to 80 percent compared to leasing a postage meter. To reset your postage meter, call your meter company and initiate an ACH Credit or ACH Debit. You can either pre-funded your postage or fund your postage on-demand .


No comments:
Post a Comment